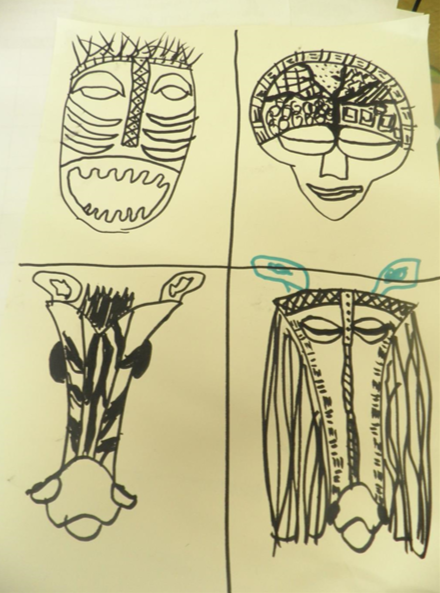
This is a big post about the amazing African masks created by my home class. This was an incredibly enjoyable project that required extensive planning before going on to producing our masterpieces. Our first lesson was spent looking at lots of examples of African masks and we discussed tribes and traditions. We broke our pages into sections and sketched out possible ideas for our mask, trying out different shapes and sizes.
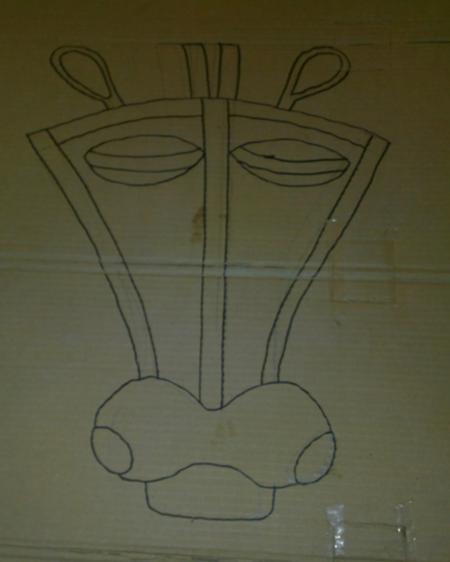
Once we'd chosen our design, we then spent the next lesson discussing and exploring colour. I let the children use brighter colours than what we had researched if they wanted to as long as there were still clear features taken from African masks. We broke up the page into four and drew our mask out 4 times. We used different colours to experiment what worked and what didn't. The next step was to draw our mask on A3 paper with our chosen colour and then label different materials we would use etc.
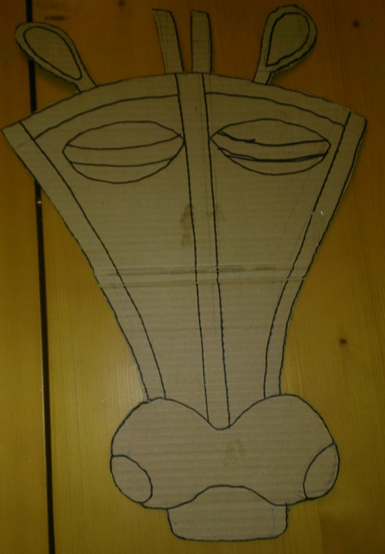
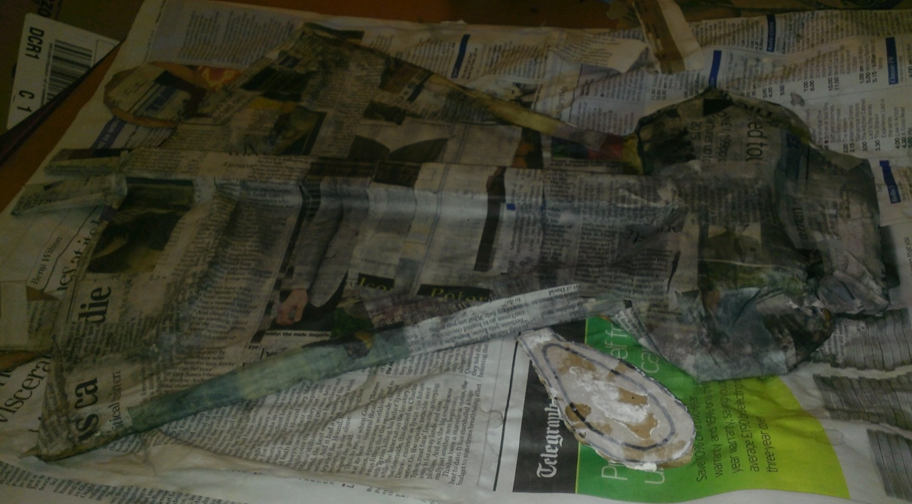
The next stage was to start to build the structure of our mask. We could use papier-mache to build depth and bring a 3D feel to the design. We also learnt about how to use cardboard to add depth by gluing it on layer by layer. We cut out the outline first and then built up the levels.
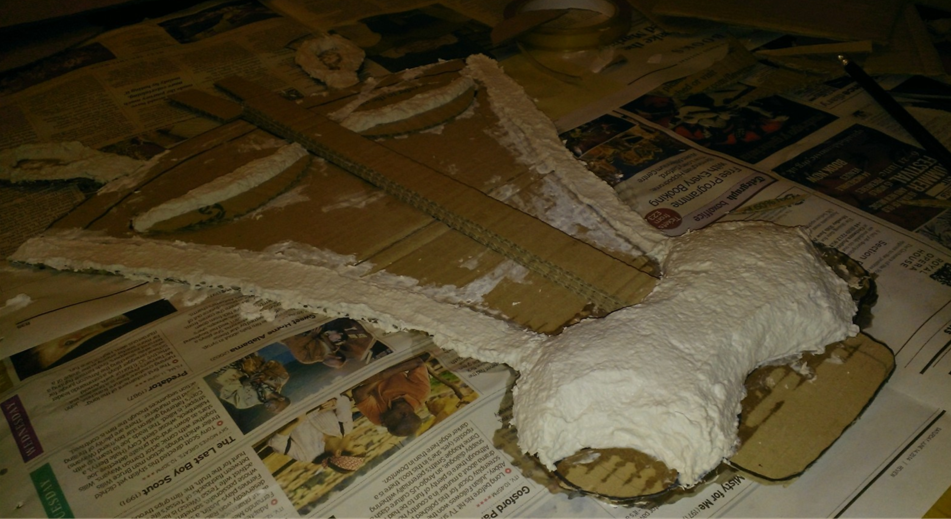
Once we were happy with our shape we began with the papier-mache. The white substance you can see in the picture above is an instant papier-mache which worked quite well but after trying it I felt it wouldn't work so well for the children.
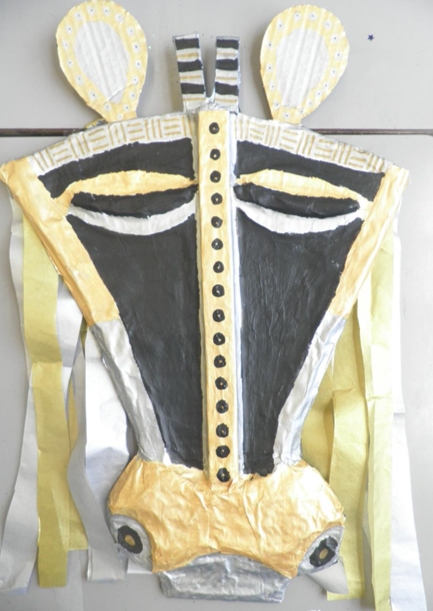
We did about 3 layers of papier-mache with newspaper and a mixture of water and PVA glue. The last layer (not pictured) was white scrap paper. Once this was completed and dried we could paint our designs and add any extra embellishments.
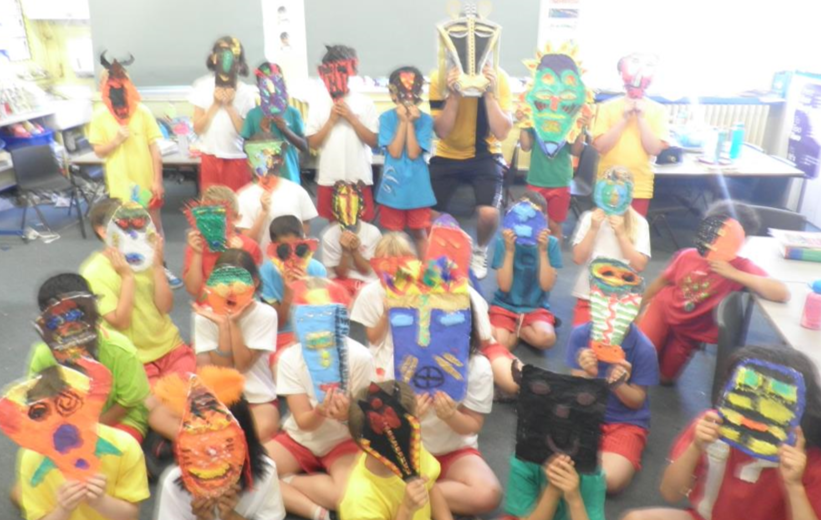
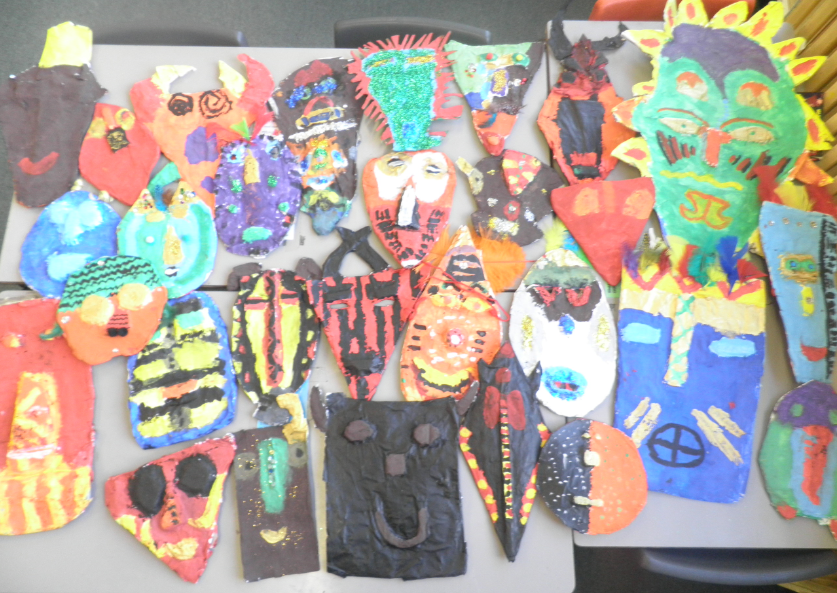
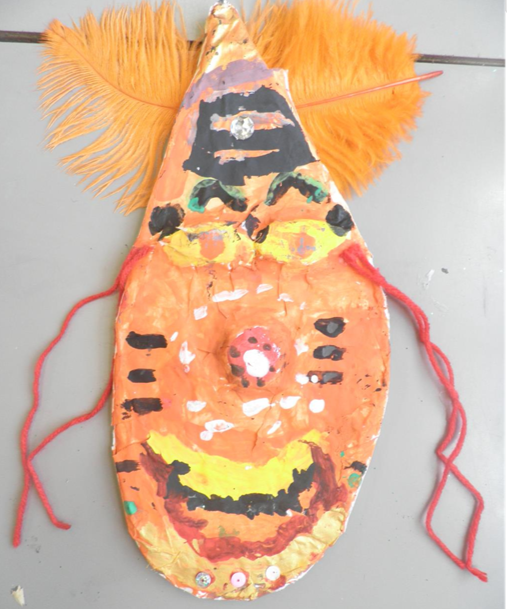
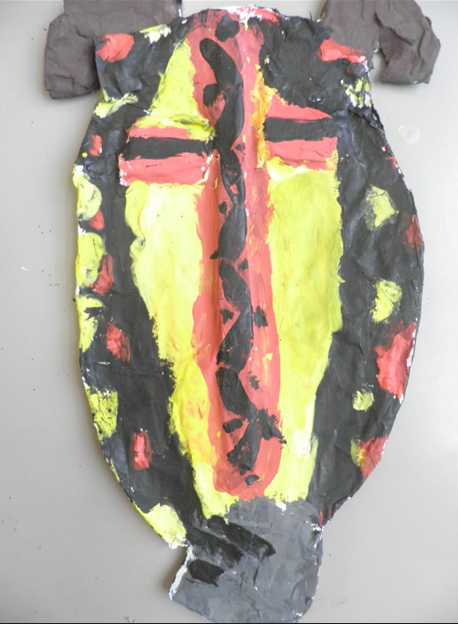
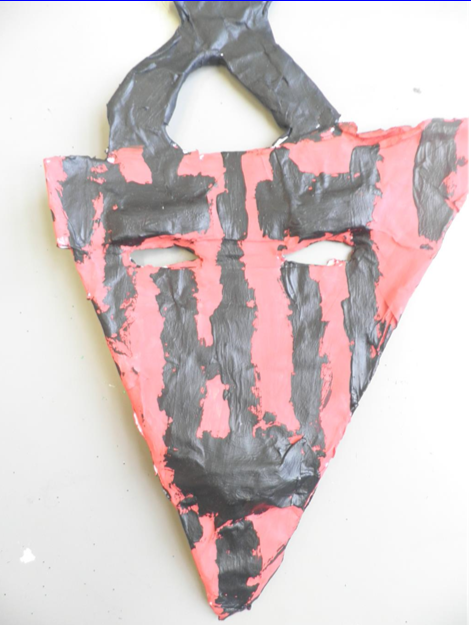
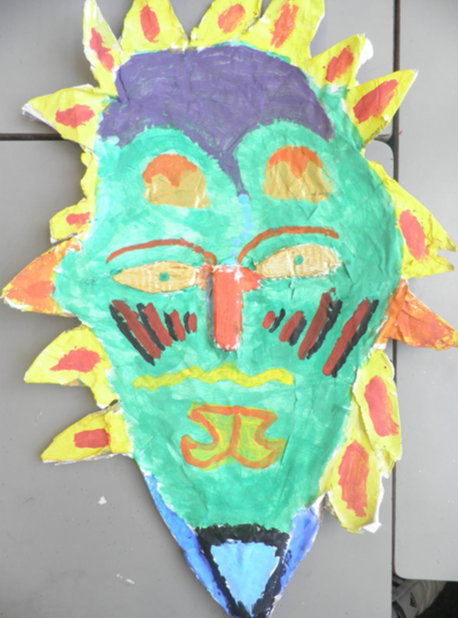
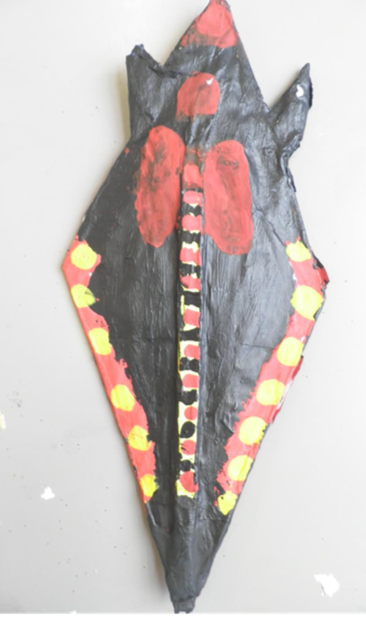
They're just a handful of the brilliant masks that we came up with. I'm so impressed with these, particularly as they've never done anything like this before and they're still only in year 3. Well done 3B, I'm a very proud teacher!
DB.

No comments:
Post a Comment